Owl-carousel with material 2:
Myself Pradeep (Sitecore Developer & Angular Material Designer)
You are thinking why we want our own custom carousel with material 2, Because
there is no component for carousel by angular material 2 team.
And i want in my website thats why i am here....
So lets start
In previous blog i just tell you that how to setup material 2
and now i am going to create new component with material 2 for carousel.
to get source code for carousel component Source-code
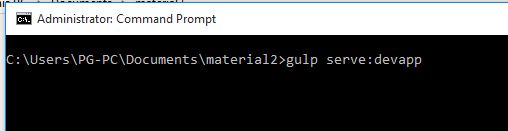
first i am running my repository

and now its running successfully...

and i will be add carousel component in this button-toogle of demo-app web application.

So be careful and see all the snapshots and if any problem then please comment....
now open your repository with any IDE but i am using visual Studio Code because of intellisense

To create new component with material 2 you must come inside lib directory (src/lib)

now copy any component to create your own component with existing structure.... as i

paste inside lib directory and rename with carousel to all file

now start from down to up so first open package.json where all the setting about component and now all with carousel as i

now open index.html and rename with carousel

now open carousel .ts and remove all the code except basic requirement and rename module with MdCarouselModule

next open carousl.scss and keep it empty for future change

now in last open carousel.html and make entry for dynamic markup

now it's time to make entry inside dictionry that you have new component for this we expand all directory and open all.ts

and make entry for carousel

and scroll down make this entry also

this is also and after all this save file

and now open system.config.js inside lib directory and make entry for carousel

and make entry for external for owl-carousel.js and also map entry after that save file.

now for some moment please revise and check that everything done without any issue.if you have any issue till now then please comment with tag:1 i will understand in which part you are getting problem
Now i am going to use this component inside other project in sample project we have demo-app site
before start first go inside demo-app and open system.config and make entry for carousel to use inside this project

and scroll down and make entry for jquery as well as js for owl-carousel and map that jquery to use

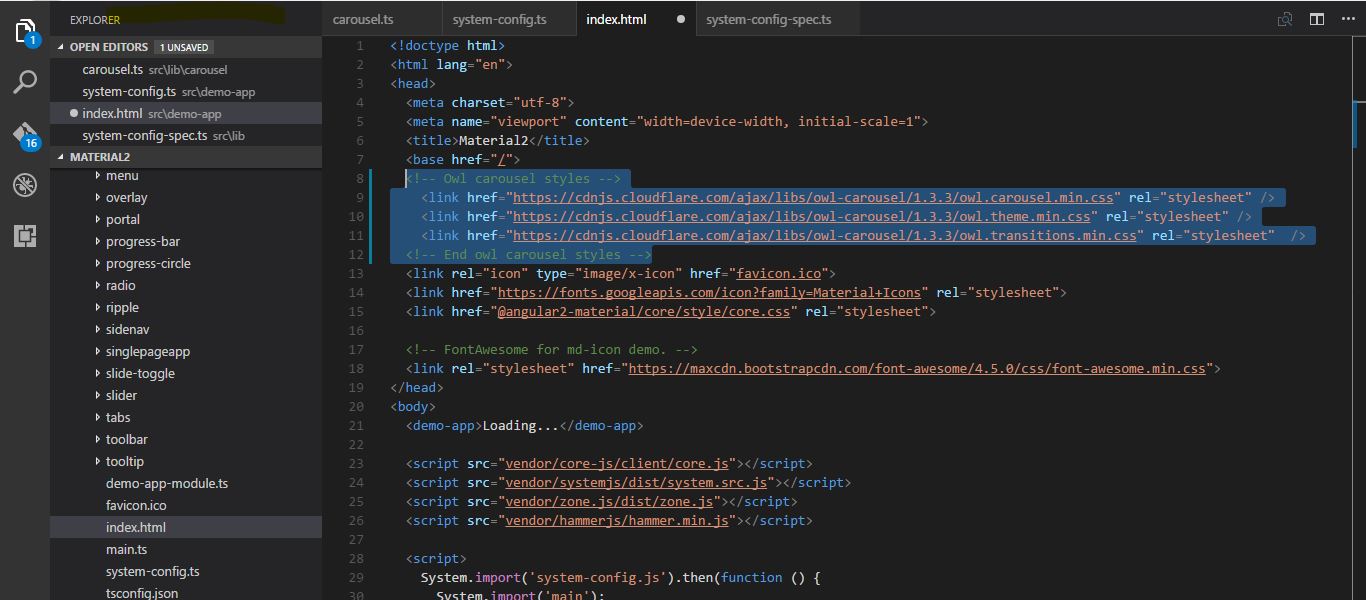
now open index.html and make entry for owl-carousel css cdn link

now i am writing markup for own-carousel inside button-toggle
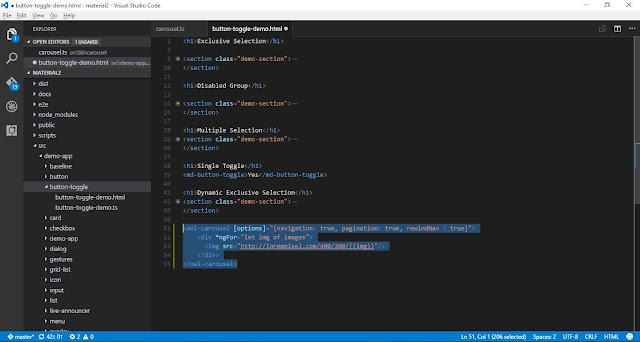
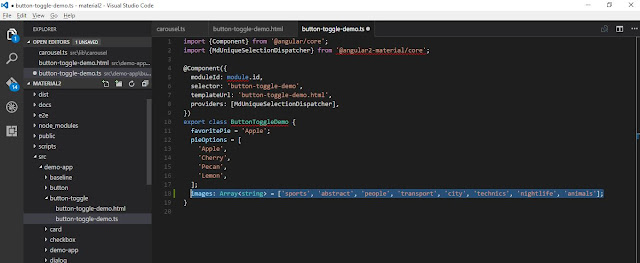
and initialize image object to use inside carousel
now run the project

Hey congrats it's running smoothly....
 if you have any query, suggestion and want to help me teach me then please comment...
You comments are valuable for me
Myself Pradeep (Sitecore Developer & Angular Material Designer)
there is no component for carousel by angular material 2 team.
And i want in my website thats why i am here....
So lets start
In previous blog i just tell you that how to setup material 2
and now i am going to create new component with material 2 for carousel.
to get source code for carousel component Source-code
first i am running my repository

and now its running successfully...

and i will be add carousel component in this button-toogle of demo-app web application.

So be careful and see all the snapshots and if any problem then please comment....
now open your repository with any IDE but i am using visual Studio Code because of intellisense

To create new component with material 2 you must come inside lib directory (src/lib)

now copy any component to create your own component with existing structure.... as i

paste inside lib directory and rename with carousel to all file

now start from down to up so first open package.json where all the setting about component and now all with carousel as i

now open index.html and rename with carousel

now open carousel .ts and remove all the code except basic requirement and rename module with MdCarouselModule

next open carousl.scss and keep it empty for future change

now in last open carousel.html and make entry for dynamic markup

now it's time to make entry inside dictionry that you have new component for this we expand all directory and open all.ts

and make entry for carousel

and scroll down make this entry also

this is also and after all this save file

and now open system.config.js inside lib directory and make entry for carousel

and make entry for external for owl-carousel.js and also map entry after that save file.

now for some moment please revise and check that everything done without any issue.if you have any issue till now then please comment with tag:1 i will understand in which part you are getting problem
Now i am going to use this component inside other project in sample project we have demo-app site
before start first go inside demo-app and open system.config and make entry for carousel to use inside this project

and scroll down and make entry for jquery as well as js for owl-carousel and map that jquery to use

now open index.html and make entry for owl-carousel css cdn link
now i am writing markup for own-carousel inside button-toggle

and initialize image object to use inside carousel

now run the project

Hey congrats it's running smoothly....

You comments are valuable for me
- and also give you feedback doesn't matter that it will be positive or negative...